Setting Up a WordPress Database with phpMyAdmin
Setting up a database for WordPress is essential to ensure that your website runs smoothly and securely. Fortunately, with the help of phpMyAdmin, managing these databases is easy and efficient. In this blog, we provide a step-by-step guide on setting up a database for WordPress with phpMyAdmin. We cover topics such as installing phpMyAdmin, generating the WordPress database, establishing user access, securing your database and optimizing it for performance. By the end of this article, you will have learned how to use phpMyAdmin to setup and manage your WordPress database efficiently.
Overview of WordPress and phpMyAdmin
Setting up a WordPress database with phpMyAdmin is a simple and straightforward process. First, you need to install phpMyAdmin on your web server, which can be done quickly by following the instructions found on their website. Once installed, you will then need to access the phpMyAdmin interface in order to create and configure your WordPress database. You will also need to grant user access to the database, as well as setting up any security protocols required such as firewalls and SSL certificates. Once complete, you will be able to manage your WordPress databases directly from phpMyAdmin in an intuitive and secure way.
Getting Started on Setting up Your Database
Most web hosting companies now give you access to phpMyAdmin by default for easy management of your WordPress databases. This means that you can simply log in to your hosting company’s control panel and access the phpMyAdmin interface from there. This saves you the hassle of having to install it yourself. Once logged in, you will be able to configure and manage your WordPress databases quickly and easily. If you are one of these people, go ahead and skip over the “Installing phpMyAdmin” step below and pick up with “accessing the phpMyAdmin Interface”.
Installing phpMyAdmin
Getting started on setting up your WordPress database with phpMyAdmin requires you to first install the software. This process is simple and straightforward; all you need to do is visit the official website, download it, and execute the installation package. Once installed, you can access phpMyAdmin’s interface through your preferred web browser. After this, you will be ready to generate and configure your WordPress database within phpMyAdmin.
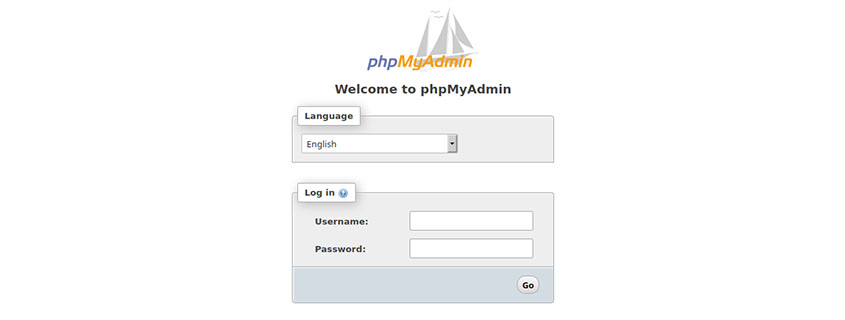
Accessing the phpMyAdmin Interface
Accessing the phpMyAdmin interface is easy and straightforward. First open your preferred web browser and enter the address of where phpMyAdmin is located. Then log in with your username and password. If your hosting provider provided you with an already installed copy to use, simply use the link they provided you. They usually have a link directly to phpMyAdmin from within your account dashboard. Once logged in, you will be able to see a list of all the existing databases for your website. From here, you can go about generating, configuring and managing your WordPress database with ease.
Creating and Configuring Your Database
Generating the WordPress Database with phpMyAdmin
Generating a new database in phpMyAdmin to use with WordPress is easy. First, log into the admin interface, and click on “Create Database”. From there enter the name of your desired database followed by the collation type (this will mostly be UTF-8) and click ‘Create’.
Establishing User Access to Your Database
When establishing user access to your database it is important to make sure that the credentials you are using are secure. You should create a dedicated user with their own username and password. This should be done in phpMyAdmin as well. Once the user has been created, you then need to specify which database(s) they can access. You will also be able to control what privileges they are granted. in this case, select the database that you created in the previous step. WordPress will need “All Priveleges”, so give the user full access to that database.
You can then use this database in WordPress by setting up a MySQL connection from within the WordPress settings and using the credentials of the newly created database. With this setup in place, you can start customizing and managing your site in no time.
Securing Your Database with phpMyAdmin
Database security is an important step when setting up a WordPress website. PhpMyAdmin is a powerful tool for managing and securing your WordPress database on cPanel. It allows you to control who can access and modify the data within your database. It also helps protect the integrity and maintain the optimal performance of your website. With phpMyAdmin, you can set up secure user accounts with specific permissions, manage database tables and fields, and much more. With phpMyAdmin, you can ensure that your WordPress site remains safe from unauthorized access or tampering.
Conclusion
Setting up a WordPress database with phpMyAdmin is a simple and straightforward process that delivers great benefits for your website. With phpMyAdmin, you have the tools necessary to manage and secure your WordPress database in order to maintain the performance, integrity and security of your website. By following this guide, you have been able to confidently create and configure a WordPress database with phpMyAdmin. Your new website is off to a great start!


